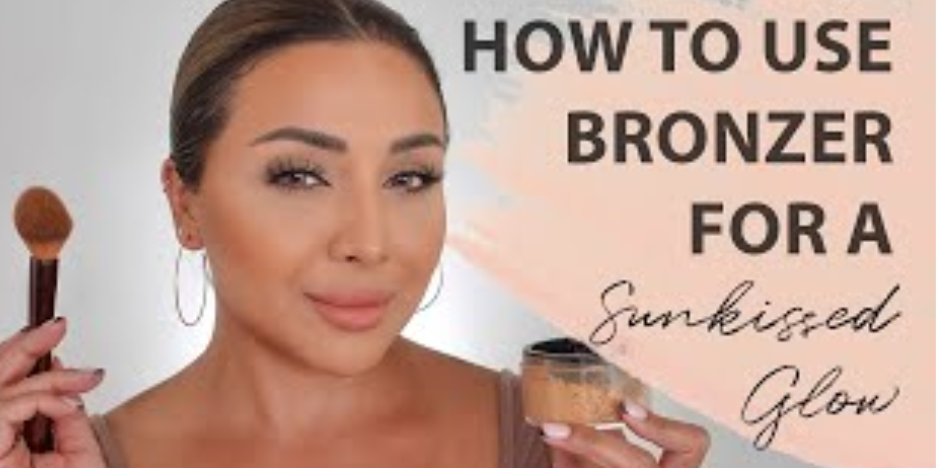
Get ready to shine with a sun-kissed glow! In this article, we’ll delve into the art of applying bronze, helping you master the technique and achieve that radiant and bronzed look you’ve always desired. Whether you’re a beginner or a beauty pro, we’ve got you covered.
The Allure of a Sunkissed Glow
There’s something undeniably captivating about a sun-kissed glow. It evokes images of lazy summer days spent basking in the warm sunlight, and it gives your complexion a healthy and vibrant appearance. The right bronze can transform your look, adding depth and dimension to your face while imparting a youthful radiance.
For those who prefer not to spend hours under the sun’s harmful rays, bronzer is a game-changer. It allows you to achieve that enviable bronzed look without the risk of sunburn or premature aging. With a few expert tips and the right products, you can easily create a natural-looking tan that suits your skin tone and enhances your features.
Understanding the Art of Bronzing
Before diving into the world of bronzing, it’s important to understand the purpose and application of this versatile product. Bronzer is typically a powder or cream product that adds warmth and color to the skin. It can be used to create a faux tan or to contour and sculpt the face.
The key to successful bronzing lies in choosing the right shade and applying it with a light hand. When done correctly, bronzer can give the illusion of sun-kissed skin, making you look like you just returned from a tropical vacation. However, over-application or using the wrong shade can result in a muddy or unnatural appearance.
Different Types of Bronzing Products

Bronzers come in various formulas, each offering different benefits and finishes. The two main types are powder and cream bronzer. Powder bronzers are the most common and are suitable for all skin types. They are easy to apply and blend, making them a favorite among beginners and professionals alike.
Cream bronzers, on the other hand, provide a more natural-looking finish and are ideal for those with dry or mature skin. They offer a dewy and radiant glow that seamlessly melts into the skin. Cream bronzers can be applied with fingers, a brush, or a sponge, depending on the desired effect.
Choosing the Right Shade for Your Skin Tone
Selecting the perfect shade of bronzer is crucial for achieving a natural and flattering look. The goal is to mimic the color your skin would naturally turn when exposed to the sun. To determine your ideal shade, consider your skin’s undertone. Is it warm, cool, or neutral?
When choosing a bronzer, it’s also important to consider your skin’s depth. Fair skin tones should go for lighter, more subtle bronzers, while deeper skin tones can handle richer, more intense shades. Consider your personal preference as well – if you prefer a more natural look, opt for a bronzer that is only a shade or two darker than your natural skin tone.
Preparing Your Skin for Bronzing
Before applying bronzer, it’s essential to prepare your skin to ensure a smooth and flawless application. Start by cleansing and moisturizing your face, focusing on areas that tend to be drier, such as the cheeks and forehead. Properly hydrated skin will help the bronzer blend seamlessly and prevent it from clinging to dry patches.
If you have oily skin or want to prolong the wear of your bronzer, you can apply a lightweight primer before moving on to the next step. Primer creates a smooth canvas for the bronzer to adhere to, ensuring a longer-lasting finish.
Step-by-Step Guide to Applying Bronzer
Now that your skin is prepped and ready, it’s time to apply your bronzer. Follow these step-by-step instructions to achieve a flawless and natural-looking tan:
- Choose the right brush: The type of brush you use can greatly impact the application and finish of your bronzer. Opt for a fluffy, large powder brush with soft bristles. This will help you achieve a diffused and blended look.
- Tap off the excess: To avoid applying too much product at once, lightly tap your brush against the back of your hand or the edge of your bronzer compact. This will remove any excess powder and prevent an overly intense application.
- Apply in a “3” shape: Starting at your forehead, sweep the bronzer along your hairline, down the temples, and onto your cheekbones. Then, lightly dust the bronzer along your jawline and under your chin. This “3” shape mimics the natural way the sun hits your face, creating a subtle and realistic tan.
- Build up gradually: Rather than applying a heavy layer of bronzer all at once, start with a sheer application and build up the intensity gradually. This will give more control over the final result and allow for a more natural finish.
- Don’t forget your neck and decolletage: To create a uniform look, extend the bronzer down your neck and onto your decolletage. This will ensure that your face and body match seamlessly, avoiding any stark contrasts.
By following these steps, you’ll be able to achieve a sun-kissed glow that looks effortlessly natural and radiant. Practice makes perfect, so don’t be afraid to experiment and adjust the amount of product and blending technique to suit your preferences.
Enhancing Your Bronzed Look with Other Makeup Products
Bronzer can be a versatile tool in your makeup arsenal, allowing you to create a variety of looks depending on how you choose to enhance it with other products. Here are a few ways you can take your bronzed look to the next level:
- Highlighter: To add even more radiance to your bronzed skin, apply a touch of highlighter to the high points of your face – the cheekbones, brow bone, and down the bridge of your nose. This will give you a luminous and glowing complexion.
- Blush: A pop of blush on the apples of your cheeks can complement your bronzed look beautifully. Opt for a warm peach or coral shade to add a touch of color and freshness to your face.
- Eyeshadow: Use your bronzer as an eye shadow to create a cohesive and harmonious look. Sweep it across your eyelids and blend it into the crease for a soft and natural eye makeup look that complements your bronzed complexion.
- Lipstick: Pair your bronzed skin with nude or coral lipstick to complete your sun-kissed look. These shades will enhance your overall glow and keep the focus on your radiant complexion.
Remember, the key is to create a balanced and cohesive look. Let your bronzed skin take center stage while using other products to enhance and complement your overall makeup look.
Common Mistakes to Avoid When Applying Bronzer
While bronzer can be a game-changer for your makeup routine, there are a few common mistakes to watch out for. By avoiding these pitfalls, you’ll be able to achieve a flawless and natural-looking bronze:
- Using the wrong shade: Choosing a bronzer that is too dark or too warm for your skin tone can result in an unnatural or muddy appearance. Always test the shade on your jawline or wrist before purchasing to ensure a perfect match.
- Over-applying: Applying too much bronzer can make your skin appear dirty or overly bronzed. Start with a light hand and build up the color gradually to achieve a natural-looking tan.
- Skipping blending: Blending is key to achieving a seamless and natural finish. Take the time to blend the bronzer properly, focusing on areas where it meets your skin to avoid any harsh lines or patches.
- Applying bronzer all over the face: Bronzer is meant to add warmth and dimension, not to be applied all over the face like foundation. Focus on the areas where the sun naturally hits your face, such as the forehead, cheeks, and jawline.
- Neglecting the neck and décolletage: For a uniform and natural look, extend the bronzer down your neck and onto your décolletage. This will ensure that your face and body match seamlessly.
By being mindful of these common mistakes, you’ll be able to achieve a flawless and natural-looking bronze that enhances your features and complements your overall look.
Tips for Maintaining a Natural-Looking Bronze
Once you’ve achieved the perfect bronze, you’ll want to make it last throughout the day. Here are a few tips for maintaining a natural-looking glow:
- Set with powder: To prevent your bronzer from fading or transferring, set it with a light dusting of translucent powder. This will help lock it in place and ensure a longer-lasting finish.
- Avoid excessive touching: Throughout the day, try to avoid touching your face unnecessarily. The oils and dirt on your hands can cause your bronzer to fade or become patchy.
- Use a setting spray: Finish off your makeup routine with a spritz of setting spray. This will help seal your bronzer and the rest of your makeup in place, ensuring it stays put throughout the day.
- Touch up when needed: If your bronzer starts to fade or lose its intensity, don’t be afraid to touch it up throughout the day. Carry a small brush or compact with you for quick and easy touch-ups.
By following these tips, your bronzed look will stay fresh and natural-looking, allowing you to radiate that sun-kissed glow all day long.
Conclusion: Embrace Your Inner Bronze Goddess
Bronzer is a powerful tool that allows you to achieve a sun-kissed glow all year round. By mastering the art of applying bronze, you can enhance your features, add warmth and radiance to your complexion, and create a natural-looking tan without the harmful effects of the sun.
From choosing the perfect shade to applying it flawlessly, we’ve covered all the essential steps to help you achieve that coveted bronzed look. Remember to start with a light hand, build up the color gradually, and blend, blend, blend to create a seamless and natural finish.
So, embrace your inner bronze goddess and let your radiant and bronzed beauty shine through. With the right technique and a little practice, you’ll be turning heads wherever you go, exuding confidence and a sun-kissed glow that’s bound to impress.


